How to Use a Pour Over Coffee Maker for Rich, Flavorful Coffee Every Time
When it comes to enjoying a perfectly brewed cup of coffee, nothing beats the experience of a pour-over. Unlike automated coffee makers, the pour-over brewing method offers complete control over every aspect of the process—from grind size to pouring technique—resulting in a cup of coffee that’s customize to your taste.
The growing popularity of pour-over coffee isn’t just a trend; it’s a testament to the desire for precision, simplicity, and ritual in coffee making. Whether you’re a seasoned barista or just starting your coffee journey, a pour-over coffee maker can help you create a beautifully balanced brew with minimal equipment.
In this guide, we’ll take you through everything you need to know about how to use a pour over coffee maker, including the tools required, the brewing process, and tips to achieve coffee perfection. Let’s dive into the world of pour-over coffee and help you master this artful brewing method!
What is Pour-Over Coffee?
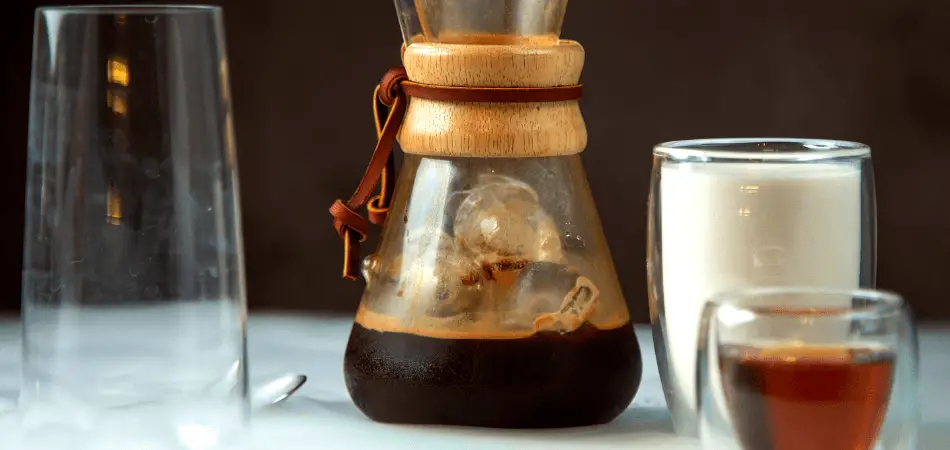
Pour-over coffee is a manual brewing method that involves pouring hot water over coffee grounds in a controlled manner, allowing the water to extract the coffee’s flavors as it flows through a filter into your cup or carafe. This process, though simple in concept, is revered for its ability to produce a clean, flavorful cup that highlights the unique characteristics of your coffee beans.
Here’s how it compares to other brewing methods:
| Brewing Method | What Sets It Apart? |
|---|---|
| Pour-Over Coffee | Precision and control over water flow and extraction, resulting in balanced flavors. |
| Drip Coffee Maker | Convenient but lacks control over brewing variables, often resulting in inconsistent flavor. |
| French Press | Produces a fuller-bodied coffee but can retain sediment and oils. |
Benefits of Pour-Over Coffee
- Flavor Control: You can fine-tune every variable, from grind size to water temperature.
- Cleaner Cup: The filter removes sediment and oils for a smoother taste.
- Mindful Ritual: The manual process can be relaxing and meditative, making your coffee brewing experience more enjoyable.
Pour-over coffee is perfect for those who value quality and enjoy the process as much as the result. Let’s move on to the equipment you’ll need to get started.
Essential Equipment for Pour-Over Coffee
To make the perfect cup of pour-over coffee, you’ll need some basic tools. Each item plays a vital role in achieving the precision and quality this brewing method is known for. Here’s a checklist:
1. The Essentials
| Tool | Why It’s Important |
|---|---|
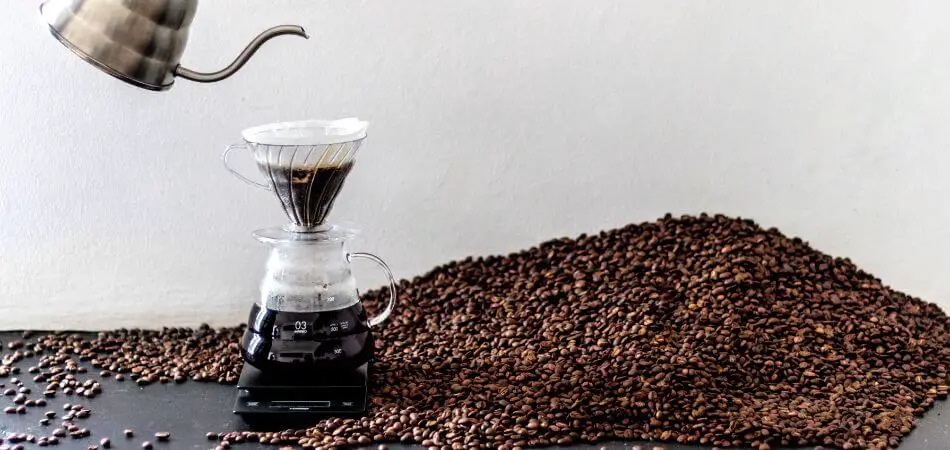
| Pour-Over Dripper | The core brewing device, such as the Hario V60, Chemex, or Kalita Wave, which determines water flow and extraction. |
| Coffee Filters | Specific to your dripper type, these ensure smooth filtration and a clean cup. |
| Gooseneck Kettle | Provides control over water flow for even extraction. |
| Fresh Coffee Beans | Freshly roasted beans are key to a flavorful brew. |
| Burr Grinder | Ensures consistent grind size, critical for proper extraction. |
| Kitchen Scale | Measures coffee and water ratios accurately. |
| Timer | Helps monitor brewing stages for consistent results. |
| Mug or Carafe | The final destination for your brew. Choose one that retains heat well. |
2. Optional Accessories
- Thermometer: Ensures water stays within the ideal brewing range of 195°F–205°F (90°C–96°C).
- Coffee Storage Container: Keeps beans fresh by protecting them from air and light.
Why These Tools Matter
- Precision: A scale, gooseneck kettle, and thermometer give you the control needed for a balanced brew.
- Consistency: Using the right tools helps replicate your best brews time after time.
- Simplicity: While the list may seem long, most tools are reusable and easy to clean, making this method both practical and sustainable.
Once you’ve gathered your equipment, it’s time to prepare for brewing. Let’s move to the next step: preparing for the perfect pour-over!
Preparing for the Brew
The secret to a great pour-over coffee lies in the preparation. Taking the time to set up everything correctly ensures consistent results and allows the coffee’s flavors to shine. Here’s how to prepare:
1. Use Freshly Ground Coffee
- Freshness is key! Coffee starts losing its flavor shortly after grinding.
- Grind your beans just before brewing using a burr grinder to achieve a medium-fine grind (similar to table salt). This grind size helps with even extraction.
2. Measure Your Coffee and Water
- Stick to the golden ratio:
- 1 gram of coffee for every 15–17 grams of water (e.g., 20g of coffee for 300g of water).
- Use a kitchen scale for precise measurements, as consistency is crucial in pour-over brewing.
3. Heat the Water
- Use a gooseneck kettle to heat water to the optimal temperature range of 195°F–205°F (90°C–96°C).
- If you don’t have a thermometer, let the water come to a boil and then cool for about 30 seconds.
4. Rinse the Coffee Filter
- Place the filter in the dripper and pour hot water through it.
- This removes any papery taste and preheats the dripper and carafe or mug.
- Discard the rinse water before brewing.
Why Preparation Matters
Good preparation ensures that all the variables—grind size, water temperature, and coffee-to-water ratio—are just right. This step is the foundation for extracting the best flavors from your coffee beans.
Step-by-Step Brewing Process
Now that you’re fully prepared, it’s time to start the brewing process. Following these steps will help you achieve a balanced, flavorful cup of coffee every time.
Step 1: Measure and Grind Your Coffee
- Weigh the Coffee: Measure your coffee beans according to your desired coffee-to-water ratio. A common starting point is 1 gram of coffee for every 15–17 grams of water.
- Grind the Beans: Grind your coffee beans to a medium-fine consistency (similar to table salt). The grind size is crucial for achieving even extraction. Too fine, and the water may flow too slowly, causing over-extraction. Too coarse, and the water may flow too quickly, leading to under-extraction.
Step 2: Set Up Your Pour-Over Maker
- Place the Filter: Insert the coffee filter into your pour-over dripper, ensuring it fits snugly.
- Rinse the Filter: Pour hot water over the filter to remove any papery taste and preheat your equipment. This also helps maintain the temperature of the brew.
- Position the Dripper: Place your pour-over dripper on top of your carafe or mug. Ensure it’s stable, as you’ll be pouring hot water into it.
Step 3: Bloom the Coffee
- Start the Pour: Pour a small amount of hot water (about twice the weight of your coffee) over the coffee grounds, just enough to wet them evenly.
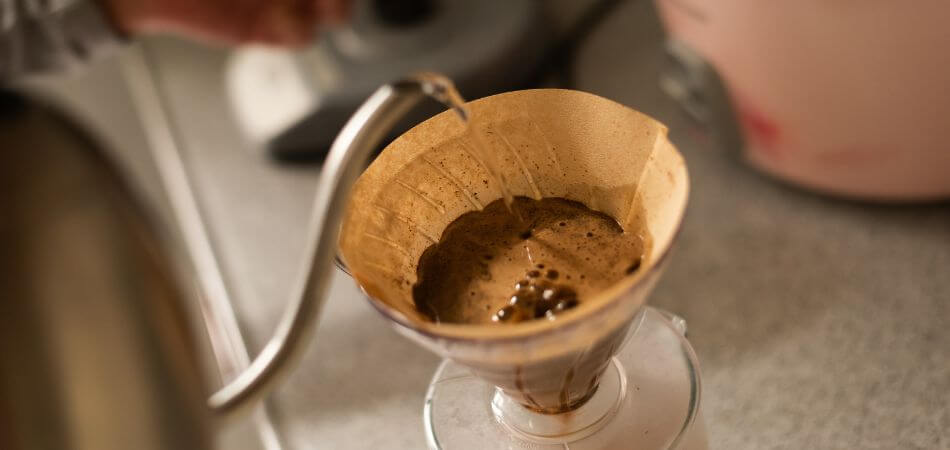
- Wait for the Bloom: Let the coffee “bloom” for 30-45 seconds. This allows the coffee to release gases that were trapped during roasting. You’ll notice bubbling, which is normal.
- Why Blooming Matters: Blooming allows for more even extraction by wetting all the grounds before the full brew begins.
Step 4: Pour Water in Controlled Circles
- Slow, Controlled Pour: Begin pouring the hot water in small, concentric circles, starting from the center and spiraling outward. This ensures that the coffee grounds are evenly saturated.
- Even Pouring: Pour slowly and steadily to maintain an even flow rate. Avoid pouring too quickly, as it may cause uneven extraction.
- Pouring Tips:
- For larger amounts, pour in stages: add water, wait for it to drip through, then add more.
- Aim to complete the pour within 2:30 to 3:30 minutes, depending on the amount of coffee you’re brewing.
Step 5: Let It Drip
- Allow the Coffee to Finish Brewing: Let the water fully drain through the coffee grounds. This may take a few minutes, depending on the grind size and pour rate.
- Remove the Dripper: Once the water has completely passed through the grounds, remove the pour-over dripper and discard the used filter.
Step 6: Serve and Enjoy
- Serve: Pour the brewed coffee into your mug or carafe. Take a moment to inhale the aroma and appreciate the clean, flavorful cup you’ve just created.
- Enjoy: Sip and enjoy the results of your effort. With practice, you’ll refine your technique and adjust the process to match your taste preferences.
Why the Pour-Over Process Works
The pour-over method allows for precise control over every step, from the temperature of the water to the speed at which you pour. This control results in a brew that highlights the subtle flavors of your coffee beans, delivering a cup that’s smooth, well-balanced, and full of character.
Tips for Perfecting Your Brew
Once you’ve got the basic pour-over process down, there are a few tips and adjustments you can make to elevate your coffee to the next level. Here are some expert tips to help you achieve the perfect brew every time:
1. Experiment with the Coffee-to-Water Ratio
- While the standard ratio is 1g of coffee for every 15-17g of water, feel free to experiment with this to match your taste preferences.
- Stronger brew? Use a slightly higher coffee-to-water ratio (e.g., 1:14).
- Lighter brew? Use a lower ratio (e.g., 1:18).
- Small adjustments can have a big impact on flavor, so try different ratios to find what suits you best.
2. Adjust Grind Size for Flavor Balance
- Finer grind = slower extraction (stronger, more intense flavor).
- Coarser grind = faster extraction (lighter flavor, less body).
- If your coffee tastes too bitter, try using a coarser grind. If it’s too weak or sour, try a finer grind for a more even extraction.
3. Use a Gooseneck Kettle for Better Control
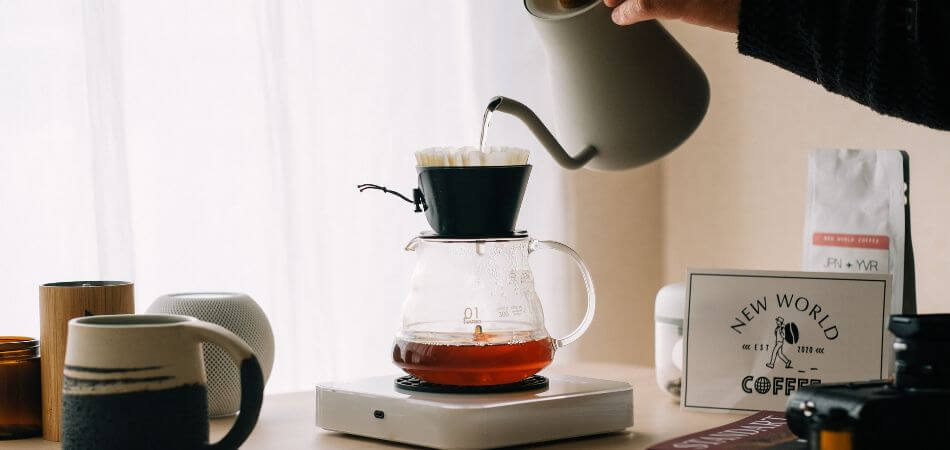
A gooseneck kettle gives you more precise control over the pouring rate and direction. This is especially important during the pouring phase, as even, circular motions will help saturate the grounds evenly. A steady pour avoids over-extracting some parts of the coffee and under-extracting others.
4. Maintain Consistency with Pouring
- Circular Motion: Pour water in small, even circles, ensuring the water evenly covers the coffee grounds. This prevents dry spots, which can result in uneven extraction.
- Slow and Steady: Avoid pouring too quickly. Pouring too fast can cause the water to bypass the grounds, leading to under-extraction and a weak cup.
5. Monitor the Brewing Time
Aim for a brew time of 2:30 to 3:30 minutes for a standard pour-over. If your brew time is too long or too short, it can indicate issues with grind size or pour technique:
- Too long? Your grind might be too fine, or you might be pouring too slowly.
- Too short? Your grind might be too coarse, or you may be pouring too quickly.
6. Keep Your Equipment Clean
Coffee oils can build up on your pour-over equipment, which can affect the taste of your coffee. Regularly clean your dripper, kettle, and other equipment to maintain the integrity of your brews.
Common Mistakes to Avoid
While pour-over coffee is a simple process, it’s easy to make small mistakes that affect the flavor. Here are some common issues and how to avoid them:
| Mistake | What to Do Instead |
|---|---|
| Using stale or pre-ground coffee | Always use freshly roasted beans and grind them right before brewing. |
| Incorrect water temperature | Use water between 195°F–205°F (90°C–96°C) for optimal extraction. |
| Uneven pouring or rushing the process | Pour in controlled, circular motions and take your time to saturate the grounds evenly. |
| Skipping the bloom phase | Always allow the coffee to bloom for 30–45 seconds to release gases and ensure even extraction. |
Avoiding these mistakes will ensure that you consistently get the best flavor from your pour-over coffee.
Why Pour-Over Coffee Is Worth the Effort
While pour-over coffee might require more time and attention than automatic brewers, the payoff is well worth it. Here’s why:
1. Control Over Flavor
By adjusting factors like grind size, coffee-to-water ratio, and pour technique, you have complete control over the flavor profile of your coffee. You can emphasize different notes, whether you prefer a bright, fruity cup or a rich, chocolaty brew.
2. The Meditative Brewing Process
Pour-over brewing is more than just a way to make coffee; it’s an experience. The slow, deliberate process of measuring, grinding, and pouring allows you to connect with your coffee in a way that’s often missing in the rush of daily life. It’s a chance to pause and appreciate the simple ritual of brewing.
3. A Clean, Flavorful Cup
The pour-over method, particularly when using a filter, produces a clean cup with a bright, clear flavor. This clarity is something that automatic drip machines or French presses can struggle to achieve.
4. Eco-Friendly and Sustainable
Unlike single-serve pod systems that create waste, pour-over coffee makers are reusable. By investing in quality equipment, you’re embracing a more sustainable, minimalist approach to coffee brewing.
Conclusion: Start Your Pour-Over Journey Today
Congratulations! You now have the knowledge to master the art of pour-over coffee. With practice, you’ll refine your technique and develop your own personal brewing style.
Remember, the key to great pour-over coffee is in the details: fresh beans, the right grind size, precise measurements, and patience. Don’t be afraid to experiment and adjust to your taste preferences. Each cup you brew will bring you closer to the perfect pour.
We encourage you to try out your new skills and share your pour-over coffee experiences. Have a favorite brewing tip or recipe? Drop it in the comments below—we’d love to hear from you!
Happy brewing!
Frequently Asked Questions Of How To Use A Pour Over Coffee Maker
How Do You Make Coffee With A Pour Over Coffee Maker?
To make coffee with a pour over coffee maker, start by placing a filter in the dripper. Add ground coffee to the filter. Heat water to about 195-205°F and slowly pour over the grounds in a circular motion. Wait for the coffee to drip into the carafe below.
Enjoy your brew.
How Should Coffee Be Ground For Pour Over?
For pour-over coffee, grind beans to a medium-coarse consistency, resembling sea salt. This texture ensures optimal extraction and flavor.
How Much Water Do You Put In A Pour Over Coffee?
For pour-over coffee, use about 400 milliliters of water for every 25 grams of coffee. This ratio ensures optimal extraction and flavor.
Do You Need A Filter For Pour Over Coffee?
Yes, using a filter for pour over coffee is essential to prevent grounds from entering the cup and to ensure proper extraction.
What Is A Pour Over Coffee Maker?
A pour over coffee maker is a manual, non-electric device that brews coffee by allowing hot water to drip through coffee grounds into a carafe or mug.
How Does Pour Over Brewing Enhance Flavor?
Pour over brewing gives you control over the water temperature and brewing time, leading to a more pronounced and nuanced coffee flavor profile.
What Equipment Is Needed For Pour Over Coffee?
To make pour over coffee, you’ll need a dripper, filters, a carafe or cup, a kettle (preferably a gooseneck kettle), and a scale for precise measurement.

