
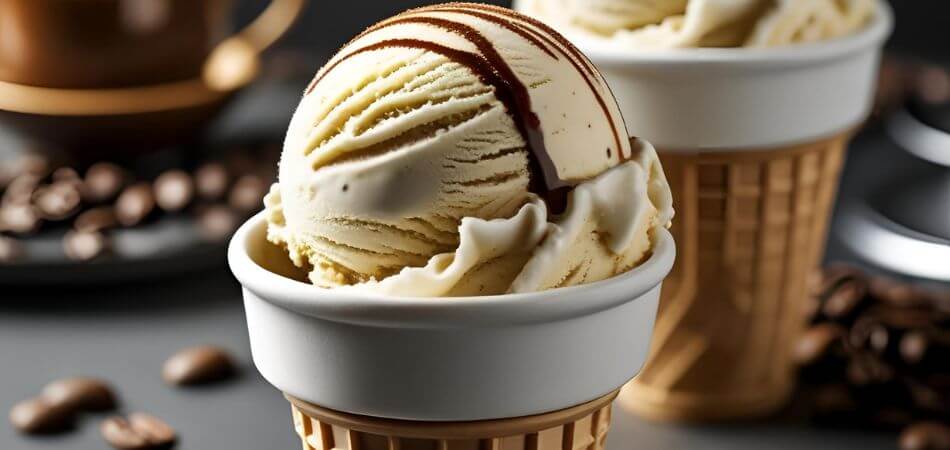
Homemade Coffee Ice Cream Recipe: Creamy, Rich, and Irresistible!
Picture this: the deep, aromatic flavor of your favorite coffee, swirled into velvety, sweet ice cream. That’s the magic of coffee ice cream—a dessert that’s as versatile as it is delicious. Whether you’re a coffee addict, an ice cream lover, or just someone who enjoys a decadent treat, this flavor is a match made in dessert heaven.
Why Coffee Ice Cream?
- Best of both worlds – Combines the bold taste of coffee with the creamy luxury of ice cream.
- Perfect for any season – Refreshing on a hot day, comforting as a winter dessert.
- Endless variations – Enjoy it solo, in an affogato (with a shot of espresso), or blended into a milkshake.
In this guide, we’ll explore:
✔️ Why coffee ice cream is so addictive
✔️ Easy no-churn and custard-based recipes
✔️ Delicious twists (mocha, salted caramel, vegan)
✔️ The best coffee to use for maximum flavor
✔️ Fun ways to serve and pair it
Ready to dive in? Let’s get started!
Why Coffee Ice Cream is Irresistible
What makes coffee ice cream so universally loved? It’s not just the caffeine kick—it’s the perfect balance of bitter and sweet, with a smooth, creamy texture that keeps you coming back for more.
The Science Behind the Craving
- Bitterness + Sweetness = Harmony – Coffee’s natural bitterness is balanced by the sweetness of cream and sugar, creating a complex yet satisfying flavor.
- Caffeine Boost – A small dose of caffeine can enhance mood and alertness, making it a great dessert for an afternoon pick-me-up.
- Creamy Comfort – The fat in dairy (or coconut milk for vegan versions) creates a luxurious mouthfeel that feels indulgent.
Who Loves Coffee Ice Cream?
| Group | Why They Love It |
|---|---|
| Coffee Lovers | Gets their caffeine fix in dessert form. |
| Dessert Fans | A richer, more sophisticated alternative to vanilla. |
| Foodies | Endless pairing possibilities (boozy affogatos, mocha sundaes). |
When to Enjoy It
- Summer – Cooling and refreshing.
- Winter – Pairs perfectly with warm desserts like pie or bread pudding.
- Year-Round – Because great flavor never goes out of season!
Pro Tip: If you’re sensitive to caffeine, opt for decaf coffee in your recipe—it still delivers the same rich taste.
Classic Coffee Ice Cream Recipes (No-Churn & Custard-Based)
Making coffee ice cream at home is easier than you think! Whether you want a quick no-churn version or a rich custard-based gourmet treat, we’ve got you covered.
No-Churn Coffee Ice Cream (Easiest Method)
Perfect for beginners – no ice cream maker needed!
Ingredients:
- 2 cups heavy cream (cold)
- 1 (14 oz) can sweetened condensed milk
- 2 tbsp instant espresso powder (or 3 tbsp strong brewed coffee, cooled)
- 1 tsp vanilla extract
- Pinch of salt
Instructions:
- Whip the cream – In a large bowl, beat the heavy cream until stiff peaks form.
- Mix the base – In another bowl, combine sweetened condensed milk, espresso powder, vanilla, and salt.
- Fold together – Gently fold the whipped cream into the coffee mixture until smooth.
- Freeze – Pour into a loaf pan, cover, and freeze for at least 6 hours (overnight is best).
Why This Works:
✅ No special equipment required
✅ Creamy, smooth texture
✅ Strong coffee flavor
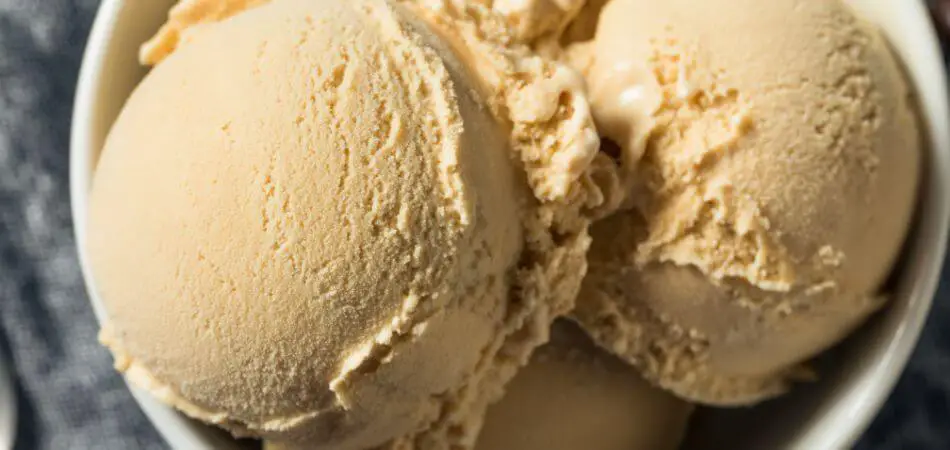
Custard-Based Coffee Ice Cream (Ultra-Creamy)
For those who want a richer, gelato-like texture.
Ingredients:
- 6 egg yolks
- ¾ cup granulated sugar
- 2 cups heavy cream
- 1 cup whole milk
- ¼ cup finely ground espresso (or ½ cup strong brewed coffee, cooled)
- 1 tsp vanilla extract
Instructions:
- Heat dairy – In a saucepan, warm the milk and cream over medium heat (do not boil).
- Whisk eggs & sugar – In a separate bowl, whisk yolks and sugar until pale.
- Temper eggs – Slowly pour the warm milk into the egg mixture while whisking.
- Cook custard – Return to low heat, stirring constantly until it thickens (coats the back of a spoon).
- Add coffee & chill – Mix in espresso and vanilla, then refrigerate 4+ hours (or overnight).
- Churn – Process in an ice cream maker according to manufacturer’s instructions.
Pro Tip: For extra coffee punch, stir in 1-2 tbsp coffee liqueur (like Kahlúa) before churning!
Delicious Variations & Twists
Why stick to plain coffee when you can elevate it? Here are irresistible ways to upgrade your scoop:
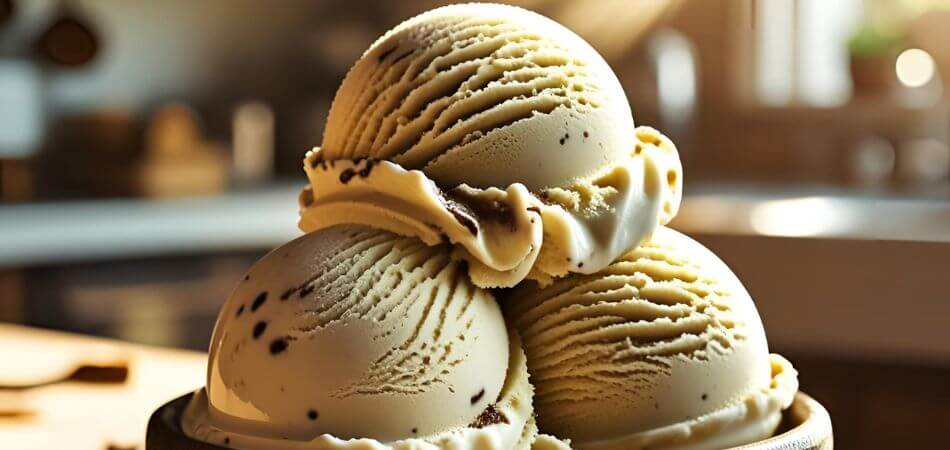
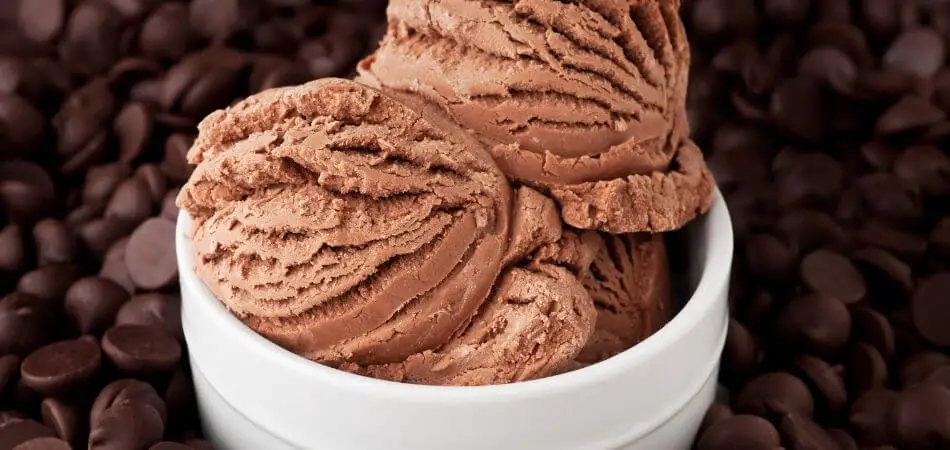
1. Mocha Chip Ice Cream
- How to make it: Fold in ½ cup chopped dark chocolate or swirl with chocolate fudge sauce.
- Perfect for: Chocolate lovers who want a bolder dessert.
2. Salted Caramel Coffee Ice Cream
- How to make it: Layer with homemade salted caramel sauce (recipe below).
- Quick caramel sauce: Melt 1 cup sugar + 6 tbsp butter, then stir in ½ cup heavy cream and 1 tsp sea salt.
3. Affogato-Style (The Ultimate Dessert Drink)
- Serve it: Pour a shot of hot espresso over a scoop of coffee ice cream.
- Bonus: Add a splash of amaretto or Baileys for an adult version.
4. Vegan Coffee Ice Cream
- Swap: Use coconut milk (full-fat) instead of dairy + cold brew concentrate for flavor.
- Sweetener: Maple syrup or agave instead of condensed milk.
Why Experiment?
- Keeps dessert exciting
- Customizes to dietary needs (dairy-free, less sugar, etc.)
- Impresses guests with unique flavors
Best Coffee Types for Ice Cream
Not all coffee works equally well in ice cream! Here’s how to choose:
| Type | Best For | Flavor Profile |
|---|---|---|
| Espresso Powder | Quick, intense flavor | Strong, slightly bitter |
| Cold Brew Concentrate | Smooth, low-acidity | Mellow, sweet |
| Freshly Brewed Coffee | Deep, authentic taste | Bright, aromatic |
| Instant Coffee | Budget-friendly | Mild, easy to blend |
Pro Tip: Avoid overly acidic coffee—it can make ice cream taste sour. Stick with medium or dark roasts for the best balance.
Serving & Pairing Ideas
Take your coffee ice cream from good to unforgettable with these serving tips:
Toppings That Shine
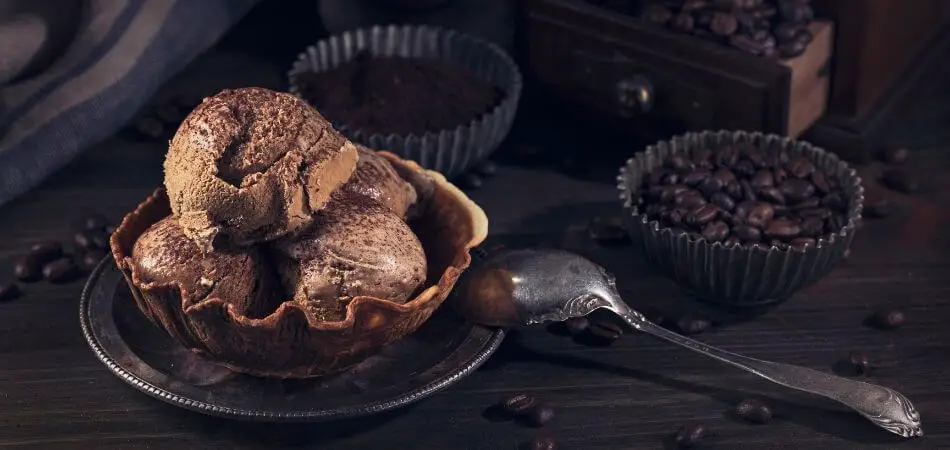
- Crushed espresso beans (adds crunch + extra coffee kick)
- Whipped cream & cocoa powder (classic diner-style)
- Toasted coconut flakes (for a tropical twist)
Dessert Pairings
- Warm chocolate brownies (contrasts cold ice cream perfectly)
- Biscoff cookies (caramelized flavor complements coffee)
- Banana bread (unexpected but delicious)
Drink Pairings
- For adults: Espresso martini or bourbon
- For all ages: Iced vanilla latte
Presentation Tip: Serve in chilled espresso cups for a cute café vibe!
Fun Facts About Coffee Ice Cream
- 19th-Century Origins – Likely inspired by Italian gelato makers who first blended coffee into creamy desserts.
- NASA’s Space Treat – Astronauts took coffee ice cream to space in the 1960s!
- Global Favorite – Consistently ranks in the top 10 ice cream flavors worldwide.
Did You Know? The affogato (espresso + ice cream) was invented as a way to enjoy dessert and caffeine in one bite!
Conclusion
Coffee ice cream is more than just a flavor—it’s an experience. Whether you:
- Crave a simple no-churn version
- Want to impress with custard-based luxury
- Experiment with mocha, caramel, or vegan twists
…there’s a perfect scoop for everyone.
FAQ’s
What does coffee ice cream have in it?
Coffee ice cream typically contains cream, milk, sugar, and coffee or espresso for flavor. Some versions may also include chocolate chips or caramel for extra sweetness!
Can I put instant coffee on ice cream?
Yes! Sprinkling instant coffee on ice cream adds a delicious coffee flavor and a nice little crunch. Give it a try for an easy treat!
How to make hot ice cream at home?
You can make hot ice cream using a special gel that melts in your mouth while staying warm! Try using methylcellulose mixed with a flavorful base, then heat it gently for a unique treat.
What is it called when you mix coffee and ice cream?
When you mix coffee and ice cream, it’s called an “affogato.” It’s a delicious Italian treat where hot espresso is poured over a scoop of ice cream or gelato!